

Samwise
-
Content Count
273 -
Joined
-
Last visited
-
Days Won
29
Recent Profile Visitors
4302 profile views


-
-
-
-
-
Mega reply incoming... (excuse the inconsistancy at times, mostly copy and pasted from elsewhere ) ========================================== Another small update from last weekend. Got the new Cam, Timing gear bits, Headgaskets & Refurbed heads back on the LS which was good fun. Took a few hours doing it together with my dad and everything went in smoothly. First off was the Cam which for anyone wondering (And not wanting to scroll back through the posts) is a Texas Speed LS3 Stage 3 cam: https://www.texas-speed.com/p-5762-tsp-stage-3-ls3... This went in nicely with a new timing gear, timing chain & Chain LS2 Chain guide. The original Setup in the L92 was VVT so a big single-bolt setup with a tensioner, etc. Chucked all that away! (not really, might make a lamp out of the old cam) for a good old 3-bolt non-vvt setup. I believe there are now some pretty good ECU configs and info out there for VVT setups but half the reason for wanting to go LS was for some nicely grumbly noises so non-vvt was the way to go for that! The next step on this end of things will be to install the new GM high performance oil pump but before that i'm going to open it up and pack it out with vaseline as a way of keeping it lubricated as well as helping it to build Oil presure when the time comes to start the engine as it will most likely sit for a good 6-12 months after i'm finished putting it together before it ever gets started up. After that the new Headgaskets went on, again just using all OEM quality GM/ACdelco parts for this followed by the refurbed heads and the ARP head studs. ARP's head studs are most definitely overkill in this application but ohwell! Next up will be the aformentioned oil pump bits. I also need to then take the engine off the stand to get the new aluminium oil barbell in and rear-cover on. Front cover will need to go on and then i'll also chuck on the old Oil pan (Rear sump, no good for my application), Valley cover and rocker covers (very mashed, going to replace) to just close it all up and chuck the inlet manifold on to keep it all together, so stay tuned for those pictures! ================================== Another small but exciting update, the engine is now technically "Finsihed" Popped round recently to install the last couple of pieces and close up the engine which is how it will mostly likely sit now over the winter. The bottom and top end parts of the engine build can be watched here on my little youtube vids for anyone interested: https://www.youtube.com/channel/UCk19Yu4ThvZ_GKqFP... but in these final steps I had to get the engine off the stand to install the new aluminium Oil barbell (had heard it's a nice cheap safety step rather than relying on the old plastic ones to hold up) as well as get the new rear cover on with the real main seal already installed. After that I packed out the Oil pump with vaseline to give it a helping hand when it finally times come to start it up, i'll probably end up priming it with oil as well before then anyway but it was a fairly easy thing to do so why not, finally it was a case of chucking on the final piece of the puzzle for deleting the VVT, the new LS3 timing cover and Cam sensor! And then I just threw on the old valley cover and wonky rocker covers that I painted to tart up a little but i'm most definitely going to replace them with some new OEM or aftermarket items perhaps and then I threw on the intake manifold to close up the intake ports and "complete" the look. The next things to go on will be the front pulley and accessory drive once I buy the latter but i'm in no rush to do that yet. Such a difference from start to finish! Before - Core L92 After - Rebuilt with no VVT, basically an LS3 with 0.5 less compression From here i'll soon turn my attention back to the GT86 itself to start disassembling and removing the OEM Boxer engine and Gearbox, tidy and tart up the engine bay and eventually get the LS mated up to a brand new T56 and at home in there, things are going to slow down a bit now though as it'll require a fair chunk of change for the gearbox and other bits of kit. I'll likely sell on the FA20 that comes out sooner rather than later as they often go on the market in the region of £2-3k =================================================== Expect some fun new updates after this weekend! Gearing up to take apart the front end of the car and lift out the FA20 and gearbox from the engine bay. Apparently quite an easy thing to achieve as the vast majority of wiring stays on the engine itself with nice clean breaks. Here's the last look of the car in one piece today! Oh and I just received the Engine swap kit from Sikky manufacturing today! Very excited as this should cover 90% of the headscratching and guessing that comes with an engine swap. Definitely not any form of ad for them (I wish!) but included is: Engine mounts Gearbox Mounts (For T56 Magnum) Front Oil pan to clear subframe/steering rack /w Oil pickup tube etc Oil filter relocation kit Brake line replacements to relocate them slightly 1 7/8" Exhaust headers And the Drive/Propshaft to bolt it up to the OEM rear diff. One of three hurdles for the engine swap cleared, the next two being the purchase of the gearbox itself and the management/ECU solution but first i'll get the old engine out, tidy up the engine bay (probably have it painted) and start test fitting. ========================================================= So it's a bit tricky to drive my car currently, and the reason for that is well... This weekend the engine somewhat fell out.. or atleast I wish it were that easy! Spent Saturday and Sunday with a bit of help getting all of the body panels off, headlights, radiator, core support & crash structure out, fluids out, Prop/driveshaft & exhaust out and finally the engine & gearbox - quite alot! I've not seen the car in this state for a few years now! Generally a very easy engine to pull out, there's a few fuel lines, coolant hoses, heater pipes etc, 2 big connectors for the entire wiring harness and then just alternator/starter wires to pull off and thats it! A bit of drama getting the centre console out so we could disconnect the gear lever and then we totatlly forgot to take it out anyway once we were done so it anded up tearing up a chunk of the heat insulation on the inside of the tunnel.. ohwell i'll probably tear that out and line it with some fancy gold tape or such in its place. All in all a good fun couple of days of work on the car! Kind of left wondering what to do next, I really really want to get the engine bay tidied up and painted but at the same time.. it looks like alot of effort getting it all cleared out with the brake/fuel lines, wiring, fuse box, etc to get to that point, but i do have the whole winter to mull it over really. Need to start getting a few things sold now like the engine/gearbox and a few extras to get a bit of money together for the next big purchases. Finally with all the new bits from Sikky arriving we couldn't help but open them up and get the LS dressed up with its fancy new headers. For some reason the view of it from the rear gets me all kinds of excited! Think it really needs some wrinkle black rocker covers now to finish it off!
-
-
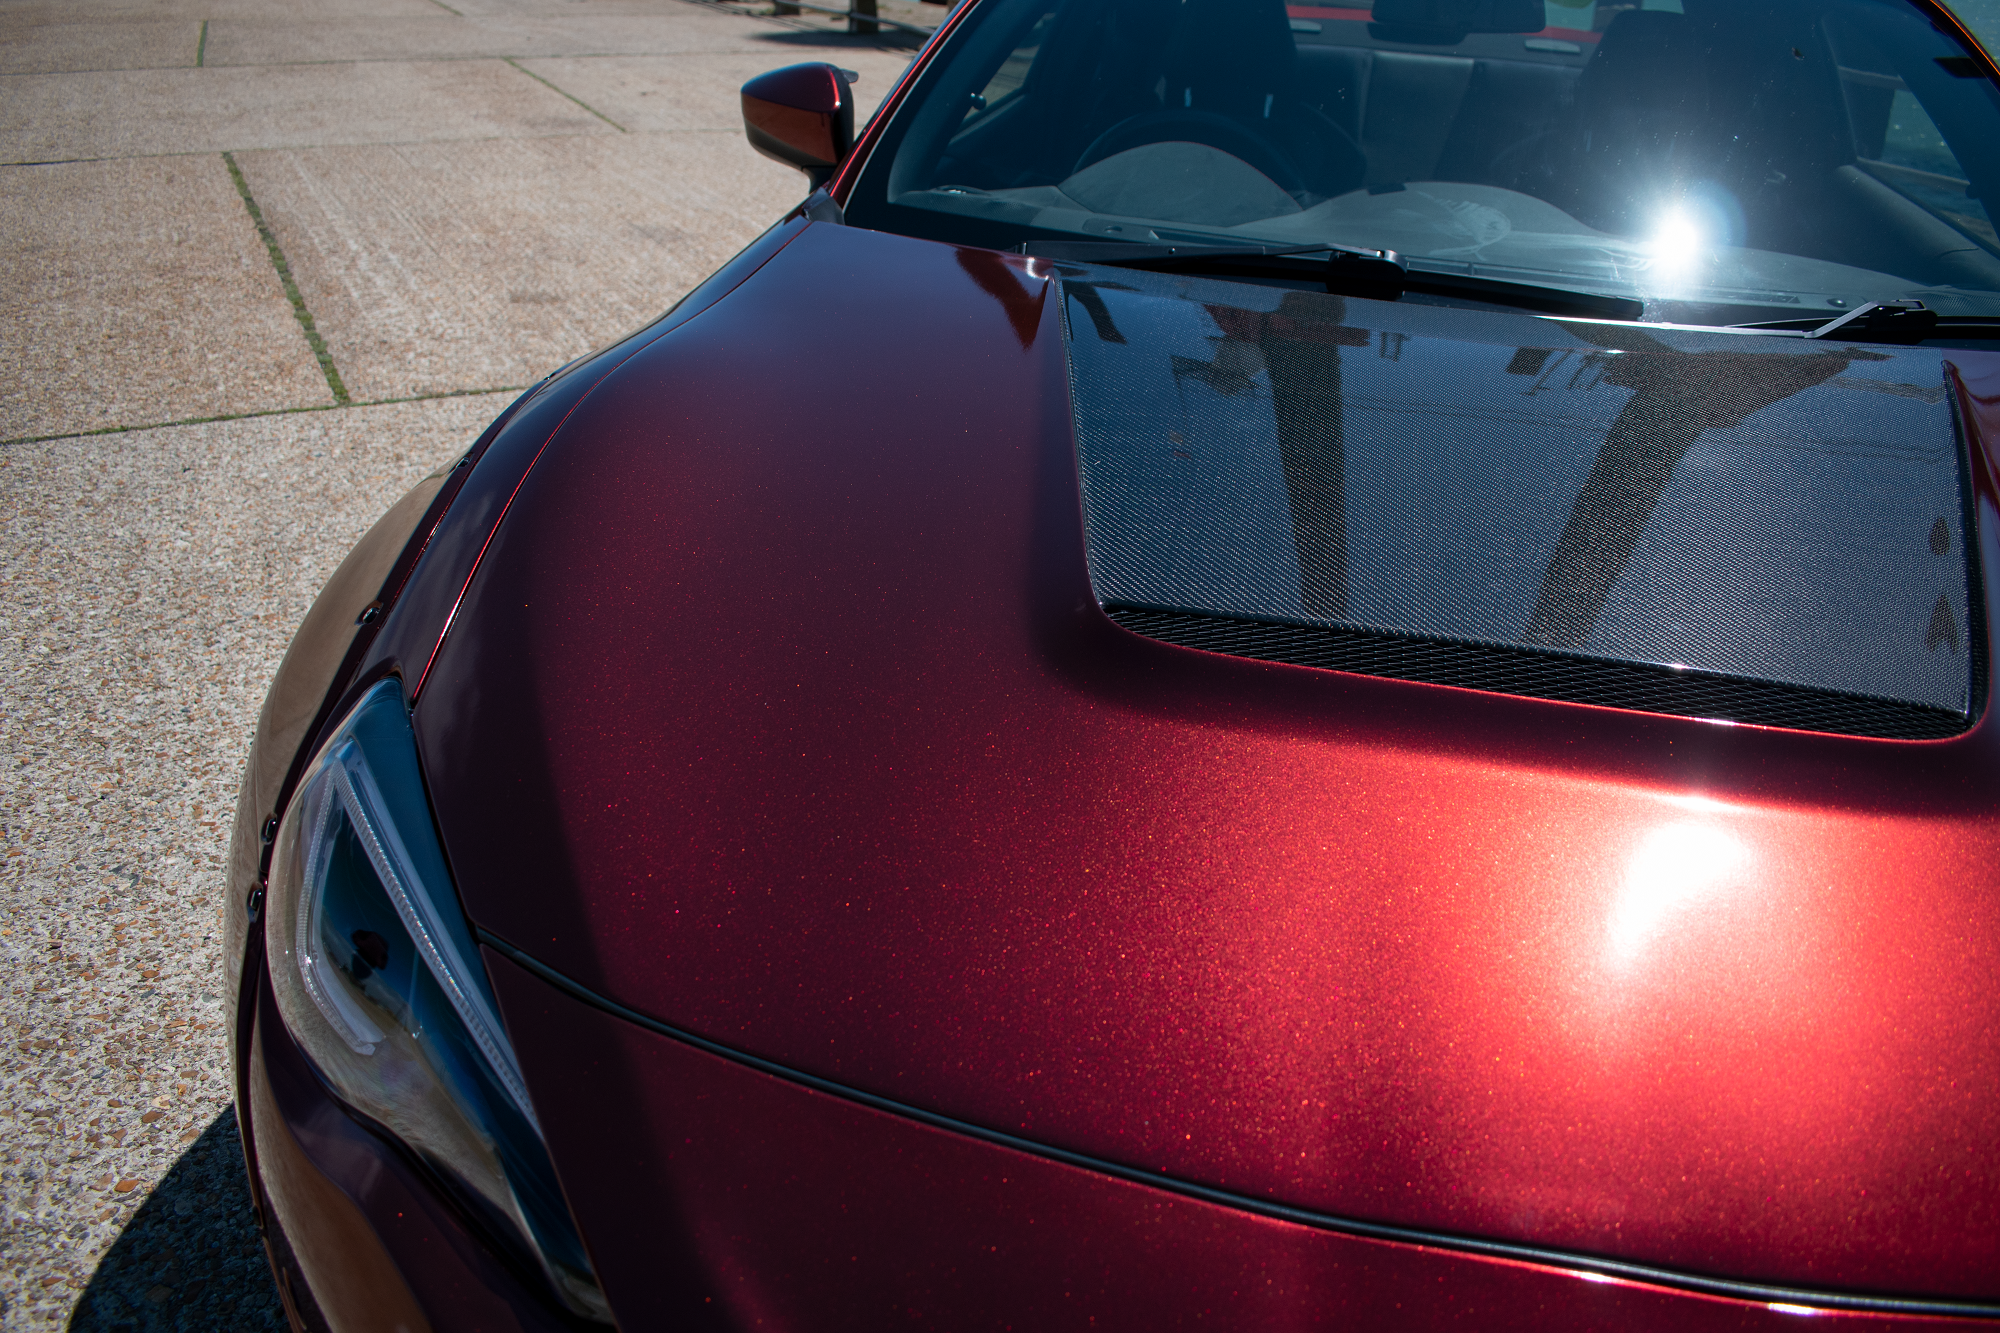
I'm perhaps the best or worst person to answer this haha. When i first got my car I originally fitted a vented Carbon bonnet and I dailied the car for about 18 months through all weather. During that time a bit of rain would just meant that the belt would slip for a few seconds when starting the car, no big deal really as i'd give it a rev and it would grab and be fine no problems! But then after I took my car off the road for 5 odd months, did a load of work on it and eventually started driving it again suddenly one of my idle pulleys on the belt system had a bearing failure! (the one directly under the intake) it's hard to say whether this was caused by the 18 odd months of rain etc potentially getting on to the belt & pulley but I've not done anything about it since replacing the pulley, then again I don't daily the car anymore. That's my experience atleast
- 2 replies
-
- 1
-

-
- vented bonnets
- bonnets
- (and 1 more)
-

Does air suspension ruin road feedback
Samwise replied to Jay Bamrah's topic in GT86/BRZ General Chat
Yeah, unfortunately the harsh reality of it is that there's some VERY unsafe "Track cars" out there. It's a pretty big no-no to have airbags fitted/enabled in a car when using full face helmets for example. They usually cause far more damage or injury than prevent. Likewise if you're going to use harnesses without a hans device you're also pretty screwed in the event of a crash or if you're only going to fit 4 point harnesses and not a proper 5/6 point to stop submarining You've either got to have all the race car safety or none or it and rely solely on the road car aspects of it, you can't mix and match them as it just becomes more dangerous than before. If the "track car" consists of a set of cheapy coilovers, some slightly sticky Michilin pilotsport 4's and perhaps some RBF600 brake fluid and you maybe even drive it to work 2-3 times a week all year round... it's not really a dedicated track car. Then again litterally none of the above comes in to the discussion of Air suspension. If OP might be concerned about losing steering feel and litterally have zero intentions of ever rolling a tyre on a track surface. If the response to "I want to buy air suspension" is something as silly as "Then you shouldn't have bought a GT86" then my arguement to that is "Why didn't you buy a lotus?" if this same thread were posted on a lotus forum well.. then it would need to be met with a swift backhand. -
Does air suspension ruin road feedback
Samwise replied to Jay Bamrah's topic in GT86/BRZ General Chat
I've had air on my car for a couple of years now, i've had a track car in the past (Vx220 Turbo) and have also tracked my gt86 in stock form however these days it's a show/road car. Specifically in regards to road-feel it feels litterally identical in reality to a low end set of coilovers such as BC BR series, Tein Flex A/Z, etc in that you feel everything you would normally through the steering and body of the car, however the response of it does change depending on the pressure you tend to drive around at. If you drive at a medium pressure (Most common) it'll feel the same as the above, stiff-ish on bumps, more compliant to road surfaces than stock, etc. If you drive at a low pressure (adjusting the shock body to be longer) it will feel spongier, softer, you'll be riding on the actual rebound and compression of the struts much more. If you drive at a high pressure (adjusting the shock body to be shorter) it will feel like you're driving on bricks. All of these apply to normal coilovers, just replace the word "pressure" with spring rate. Weight wise it's a bit negligable, the actual suspension struts themselves are lighter than a set of coilovers as of course an air spring is considerably lighter than a steel coil spring however the added weight of compressor, tank, etc does offset that and perhaps make it a couple of kg heavier... just install a lighter battery in the car. Reliability wise like literally ANYTHING when it comes to the car hobby it all depends on the install. In the 2 years that i've had mine I've had one eletrical part of the system fail on me, it was replaced free of charge under it's lifetime warranty by Airlift and it wasn't due to a fault of the install which I did myself - Coincedentally i've also had a set of coilovers utterly fail.. litterally the shrut body totally sheering in half kind of fail in <18 months.. so these things happen with typical suspension as well. I'll probably end up tracking my car more in the coming years but it will by no means become a dedicated track car. At the end of the day if you're a mega track driver, you make sure to check your tyre pressures after each session, you probably own a hans device and sparco racing boots then air suspension isn't for you, but if you're the occasional track driver, maybe you're still on stock wheels, and you don't threat about how you can shave off 5 10th's from your lap time but you also like the idea of being able to drive a low car while still being able to go over any speed bump, get up any multi story car park, drive in any boggy grassy field at a car show, etc then just get air suspension if that's what you want or consider air cups if you want coilovers with a "nose lift" feature like modern supercars. Also.. in regards to the "you dont see track cars with air suspension" point - you don't often see dedicated track cars with seat belts, airbags, air conditioning or even windscreens in some cases and.. well those are pretty good features to have on a road car if you ask me! -
-
-
-
-
-
-
Right well.. it's been a little while since I last updated this post.. and that's not to say there hasn't been bits going on, i've just been so absurdly busy I keep forgetting to take photos! For starters I finally moved out of my parent's house and got my first property, a decently sized little flat which has been an absolute rollercoaster of emotions and made and already very fast-moving year suddenly jump 3 months in the blink of an eye! But getting back to the part you're all here for the car & engine although I have to pre-warn you as with alot of the recent engine-related posts it's quite nerdy! After sprucing up the cylinder heads I wrapped those up and stuck them up on the shelf back in March and moved on to removing the pistons from the engine. I flip flopped back and forth exactly what I was going to do with the internals of the engine and to what extent I was going to take it all apart - In the end I decided to not remove the crank & crank bearings down to a few factors, namely the fear of the main journals going out-of-round and replacing the main cap studs & bolts with ARP items which can get expensive already ontop of having shelled out for ARP head studs etc. As well as this I decided on retaining the stock internals again because the rod journals are known to go out of round if you go with ARP rod bolts and there's so much drama when it comes to forged items if you're on a budget it's such a headache! - I'm glad I did this in the end because as I type this my lights might simply turn off at any moment due to the fact the flat didn't come with a pot to piss in! With all of that I moved on to removing the Cam, lifters, etc and painting the engine block. All very easy and I made a couple of youtube videos covering the topics: https://youtu.be/4Nu4iKF605k https://youtu.be/1LR8d22JWXc https://youtu.be/8iSihhg9jcA And that neatly brings me on to where I am now, with freshly honed cylinder bores, measured tolerances & bearings and ready to assemble it all again, but as they always say - THIS THREAD IS USELESS WITHOUT PICTURES which was half my reason for a lack of update, i simply keep forgetting so lets see... Nicely cleaned up & painted block: Honed Cylinder bores: Pistons ringed & ready to go!: and the engine block again, this time featuring considerably more pistons! As for the nerdy bits in regards to tolerances and clearances, here are my findings regarding the top & Middle compression rings and rod bearings: OEM Top Ring clearances: Production - 0.23‐0.44 mm Service - 0.23‐0.5 mm Mine - 0.5mm - so right on the upper edge of a "serviced" engine but It's not the end of the world. OEM Second Ring clearances: Production - 0.44-0.7mm Service - 0.44-0.76mm Mine - 0.56mm - well within even production specs so i'm quite happy with this! Piston Rod Bearing clearances: Production - 0.023-0.065mm Service - 0.023-0.076mm Mine - 0.051mm - Only measured using plastigage but considering this is right in the middle of the range i'm quite happy with this And with that the lower end of the engine block is all back together and i've got 95% of the new parts required to close up the engine too! If you're a fan of shopping lists boy do I have a fun one for you, in the above pics you're looking at: Brand new intake manifold - /w gaskets, fuel rails, injectors, throttle body & map sensor (purchased "used" but it's very much as fresh as a daisy!) Head gaskets LS7 Lifters /w new lifter trays New Cam Timing gear, chain & guide (required for the removal of VVT) New Sensors & plugs all over New cam retainer plate New Front Timing cover /w seal & Gasket New Rear main cover /w main seal More gaskets - Valley cover & Exhaust manifold New front Pulley ARP Cam Bolts ARP Exhaust Manifold Bolts ARP Head Studs ARP Pulley bolt & More bolts, brackets & otherwise as well as the bits I showed off in previous posts. All that really leaves to close up the engine for good is a pair of new rocker covers as mine are rather nasty, a new valley cover simply because I want to and the new Sump pan & pickup tube which comes with the engine swap kit. Next weekend I'm going to get the new Cam, lifters, timing bits and perhaps even the refurbed heads back on and in a way the engine build is then "done"
-
-
I use PB Brakes which are made in the same factory as K-sport & D2 brakes (And they're cheaper!) and as far as I'm aware yes, when you specify the larger disk size it's all the same gear just with a different bracket.
-
Looks like a mishomoto to me, I have same in black
-
Another video update this week! got the heads for the LS3 buttoned up, cleaned up the second head, proceeded to lap the valves and then re-install them along with brand new valve springs, seats/seals and the refreshed and upgraded rocker arms! There's unfortunately not much else to say than that! It took quite a bit of time and alot of elbow grease to get them cleaned up as thoroughly as I could and then all 16 (thankfully only 16!) valves as they were quite heavily pitted, especially in the case of the exhaust valves. Without further ado the pictures to show it all off and the video to accompany them!
-
Haha cheers, means alot! Gets tricky to put out videos frequently these days around juggling work and actually doing enough in a video to make it interesting but it's still quite fun to do! Sounds good, Can't say mine will be a decent how to: and it's still very early days so far but it's all these little detailed jobs that make the big difference and also take all the time.
-
-
Been slowly moving ahead on tearing down and cleaning up the Internals of the LS ready to go back together with the shiny new parts. I'm having to be particularly thorough with it moreso than I was perhaps hoping for. As the engine was a core it's clearly sat for sometime and is just mega sludgy and crusty throughout. Definitely the kind of thing that should've been hot tanked but in my ignorance i assumed the cost would be fairly high and wanted to clean it out myself. I might still get the block hot tanked but for now.. on with the show! Following the removal of the valves and getting the rocker arms apart the next setp was to clean up the rocker arms, they were perfectly useable as is but i didn't fancy putting the oil-black (rocker arms in with the shiny new valves, valve springs etc and as well as that I had to get the new trunnion bearing upgrade install. The Bearing upgrade I went for was from the more expensive range of trunnion bearing upgrades as it features brass bearings rather than needle bearings once again but the reason i went for this particular one was it's ease of installation as it doesn't require the bearings to be pressed in and simply needs a pair of circlip pliers! Here's a before and after of the old grimey rocker arm compared to a lovely cleaned and polished up one. After cleaned up everything get chucked back in to a container of fresh oil to keep it from rusting and also to prepare it for the trunnion bearing upgrade install. Every component of the bearing has to be covered in oil or assembly lube when being put together so it's easier just to keep them chilling in the oil as they'll likely sit there for some time after until finally being installed in to the heads. Moving on to the bearing upgrade it was very easy for all 16 rocker arms, the hardest part is simply installing the circlips and making sure they don't launch themselves in to the stratosphere. Once done they look pretty smart! With all of that covered off in the above video I moved on to the next task. Wanting to get the heads all finished before moving on to the block, pistons and crank they were in a severe need of cleaning, muck like the block itself the insides of the heads are filled with gunky sludgy old oil and carbon, buildup from the coolant system, etc. At this stage i'm thinking it might be better to just bite the bullet and get a machine shop to clean it all but i've already bought the parts washer, degreaser and brake cleaner, etc so feel I may as well persevere for now! Armed with copious amounts of brake cleaner and elbow grease I was able to get one of the heads pretty darn clean if i say so myself. It took around 3 hours and only the most stubborn of oil stains and carbon buildup is left over, largely on the exhaust ports but i'm not overly fussed about that as it will soon build up again or come off after the engine's first "Italian tune up" All of this will be covered in my next video but I couldn't help showing it off as I have to say im rather proud of how they turned out, i wasn't so sure they were particularly salvagable by hand, i still might take the block itself to a machine shop to make sure all the oil passage ways and cylinder bores are cleaned thoroughly but the heads came out pretty well by hand! Check out the comparison of the old crusty state the heads were in and the new shiny cleaned up head!
-
-
I bought a load of my gear when fixing up my car including rear lights, intake, radiator, fan shroud, etc all from FT86 Speed factory in the US and in the long run i think it was basically the same price as stuff in the UK only it was actually in stock unlike parts in the UK at the time. Headlights is a risky game because of them being LHD of course but other than that go for it i say. It makes sense on bulkier orders rather than a one off item or 2
-
Part number of the surround itself is - SU00301519 Fog light part number is (i think, might be worth double checking with toyota) - SU00302518 That includes the light, brackets, bulb, the lot. Indicator part number is - SU00302535
-
Another small update, haven't got around to doing too much on the car/engine over the christmas break as I was largely taking full advantage of time off work doing naff all! but I did spend new years day doing some fun (read: sad and weird) Valve cleaning and other jobs! Started up by cleaning up the valves both instake and exhaust, thankfully there's only 16 valves in the whole engine but you can see how the LS is renown for its immense airflow with intake valves the size of a dinner plate like this. I didn't want to use anything too harsh on the valves or do anything that might damage/remove material from them so armed with my new bench mounted parts cleaner, what feels like a metric tonne of degreaser and some brushes / grey scotchbrite pads I went about removing alot of the discolouration and carbon buildup on the vavles, they don't look brand new by any stretch of the imagination but i'd rather not risk damaging them. I'll finish them up by lapping the valves in to the heads when the times comes to put it all back together but for now here's how they look! Old Exhaust Valve / Cleaned Exhaust Valve / Old Intake Valve / Cleaned Intake valve Moving on from there to another small job which is starting to prepare the Rocker arms for the Trunnion bearing upgrade. Briefly shown and mentioned in my previous video the rocker arms or specifically the needle bearings they feature is the largest failure point of a modified LS engine. When subject to a cam with higher lift and high revs/power/etc the Rocker arm bearings can tend to over-rotate which causes them to come apart, with no circlips to hold them in to the rocker arms the bearings break free and loads of tiny needle bearings are dispersed in to the engine causing havoc on the internals. for <$200 the rocker arm trunnion upgrade is a worthwhile and easy to install piece of mind upgrade but first things first is getting the old bearings out and cleaning up the rocker arms. It's as savage and simple as it looks, the rocker arm between 2 sockets and simply pressed out with my bench vice, repeat this 15 times and you got yourself a pile of needle bearings to throw away. I'll be going over all of this in my next video and my next steps will be to give theRocker arms and heads a decent degreasing/steam cleaning and then re-assemble it all with the new valve spring kit, bearings and so on! then i'll be moving on to the bottom end!
-
not too badly, boxer engines are really wide and the LS itself is rather small compared to most engines thanks to the fact it doesn't have over head cams. Here's a similar small block chevy v8 next to a Ford 5.0 Coyote V8:
-
Bought myself an LS3 v8 in 2019 to fit, currently in the process of stripping it down to rebuild it fun fun
