
Tweedbean
-
Content Count
467 -
Joined
-
Last visited
-
Days Won
9
Reputation Activity
-

 Tweedbean reacted to JamesP1991 in tweedbean's GT86
I think the wheels look better without the centre caps because the caps are a bright red, which clash with the colour of the wheels too much! Without the BBS wheel design looks a lot sleeker.
I'd try and get different coloured centre caps
-
Tweedbean reacted to Lauren in tweedbean's GT86
Prefer the wheels without the centre caps, I don't think the red caps go.
As for handling, you could change the bushes. Braces? I wouldn't bother it will handle just fine with the Teins. I've got the EDFC Active Pro which obviously allows for more adjustment with regard to speed and lateral and longitudinal G force. It works very well. I've also had the Whiteline bushing for the gearbox which is good but not essential.
-
 Tweedbean got a reaction from Keethos in tweedbean's GT86
Thanks James.
Well at Japfest I may have mentioned to a couple of others that the car had a knocking coming from the front since I had fitted the teins, which I thought may be the front drop links being too long making the sway bar hit the front wish bone. Tonight I jacked the car up and removed the wheels and straight away I could see I was right, so I have whipped them off and will try to source some shorter ones asap. I am glad thats all it was and a quick test drive confirmed this.
While the car was up in the air I dropped the front another 10mm to level it off with the rear as there was a little rake. I took a couple of snaps while on my test drive and those with a good eye will notice the centre caps are off the wheels, this is due to one saying bye bye on my drive home from Japfest. One hadn't gone back on properly and I meant to remove it before I left so I could sort it when I got home but I forgot, doh. So its time to source a replacement which is proving tricky as these wheels are not manufactured anymore but I will sort it.
Lowered another 10mm on the front by James Baker, on Flickr
Lowered another 10mm on the front by James Baker, on Flickr
I am really pleased with the wheel/tyre and suspension combo, the car feels so much more planted and the coilovers are miles better than the BC's I have owned previously on other cars, no crashing at all over rough surfaces.
Next job is to decide on a ducktail spoiler for the rear and to get the handling spot on with further suspension mods including rear control arms, adjustable drop links and a number of bushes/braces to stiffen things up. The positive shift bush is a definite. Any suggestions about what to look at handling wise, I am all ears
-
Tweedbean reacted to shiftspark in tweedbean's GT86
I was unsure whether I liked the wheels or not but I must say it looks fab in these pics, infact the wheels look better without the centre caps
-
Tweedbean got a reaction from Keethos in tweedbean's GT86
Thanks James.
Well at Japfest I may have mentioned to a couple of others that the car had a knocking coming from the front since I had fitted the teins, which I thought may be the front drop links being too long making the sway bar hit the front wish bone. Tonight I jacked the car up and removed the wheels and straight away I could see I was right, so I have whipped them off and will try to source some shorter ones asap. I am glad thats all it was and a quick test drive confirmed this.
While the car was up in the air I dropped the front another 10mm to level it off with the rear as there was a little rake. I took a couple of snaps while on my test drive and those with a good eye will notice the centre caps are off the wheels, this is due to one saying bye bye on my drive home from Japfest. One hadn't gone back on properly and I meant to remove it before I left so I could sort it when I got home but I forgot, doh. So its time to source a replacement which is proving tricky as these wheels are not manufactured anymore but I will sort it.
Lowered another 10mm on the front by James Baker, on Flickr
Lowered another 10mm on the front by James Baker, on Flickr
I am really pleased with the wheel/tyre and suspension combo, the car feels so much more planted and the coilovers are miles better than the BC's I have owned previously on other cars, no crashing at all over rough surfaces.
Next job is to decide on a ducktail spoiler for the rear and to get the handling spot on with further suspension mods including rear control arms, adjustable drop links and a number of bushes/braces to stiffen things up. The positive shift bush is a definite. Any suggestions about what to look at handling wise, I am all ears
-
Tweedbean reacted to JamesP1991 in tweedbean's GT86
Looked great in the flesh mate, after talking with you and what you plan to do with the colour I am excited to see this develop
-
-
Tweedbean got a reaction from Keethos in tweedbean's GT86
So lots of bits have been ordered over the last couple of weeks to try and get the car ready for Japfest on 16th May, bit thanks to Rich@Orranje Performance for his help on this.
Coilovers
I was very close to ordering a set of BC coilovers, however due to the recent issues they have been having with the GT86 rears, I wasnt a fan of the way they decided to remove bits and get customers to rectify themselves rather than fixing the problem. Therefore I decided that the Tein's seem to be highly rated for Japanese cars so why not give them a go. After reviewing the options, the Tein Street Flex Z seemed to fit my requirements and they also have the ability for me to fit EDFC (Electronic Damping Force Controller) at a later date, making it possible for me to control the damping force at the touch of a button while in the driver's seat. Amber Performance were really competitive on price so they got my business.
Overnight parts from Japan by tweedbean, on Flickr
Tein Flex Z Coilovers for the GT86 by tweedbean, on Flickr
Tein Flex Z Coilovers for the GT86 by tweedbean, on Flickr
Tein Flex Z Coilovers for the GT86 by tweedbean, on Flickr
Tyres
For the tyres I decided to go for 225 40 18 Vredestein Ultrac Sessanta's as I was really impressed with them on the Clubby so I though I would give them a go on this.
225 40 18 VREDESTEIN ULTRAC SESSANTA's by tweedbean, on Flickr
Wheels
So the BBS RSii's are back from the powder coaters and I am really pleased with them. I have gone for two different colours, one of which is chrome powder coat for the lip, barrels and centre caps. I did contemplate getting the lips and centre caps polished however that would require more upkeep than I can be bothered with for a set of wheels, especially as this is a DD, so I think the powder coat looks the part and will be harder wearing. The second I will let you know in due course once the wheels are on the car. I have always tried to go a little different and hopefully I have achieved this.
The only photo I have to share with you right now is a really poor one of the centre caps
Centre Caps by tweedbean, on Flickr
Performance
This hasn't been forgotten as I am not build a show and shine car here I have been weighing up my options with the Avo turbo and the numerous supercharger conversions, pulling together a list of parts and prices. I am still not 100% sure, so my plan is to get to a number of shows/track days this year and hopefully get a ride in a car with each of these kits to see the difference in the real world rather than on paper. I dont want to start buying performances parts such as unequal length manifolds, exhausts etc now if they wont work with the FI route I decide upon, so until then the suspension, interior and exterior will get me attention.
It seems like I will have a busy weekend as I need to rebuild the wheels then get the over to the tyre place to get the tyres fitted, then get back to Rich's to fit the coilovers and wheels to the car. I also have a couple of small jobs like switching over number plates and finishing the debadging on the rear.
Bulbs
I also have some chrome indicator bulbs on the way, 4xT20 and 2xT10, so I can loose the fried egg look.
-
Tweedbean got a reaction from Keethos in tweedbean's GT86
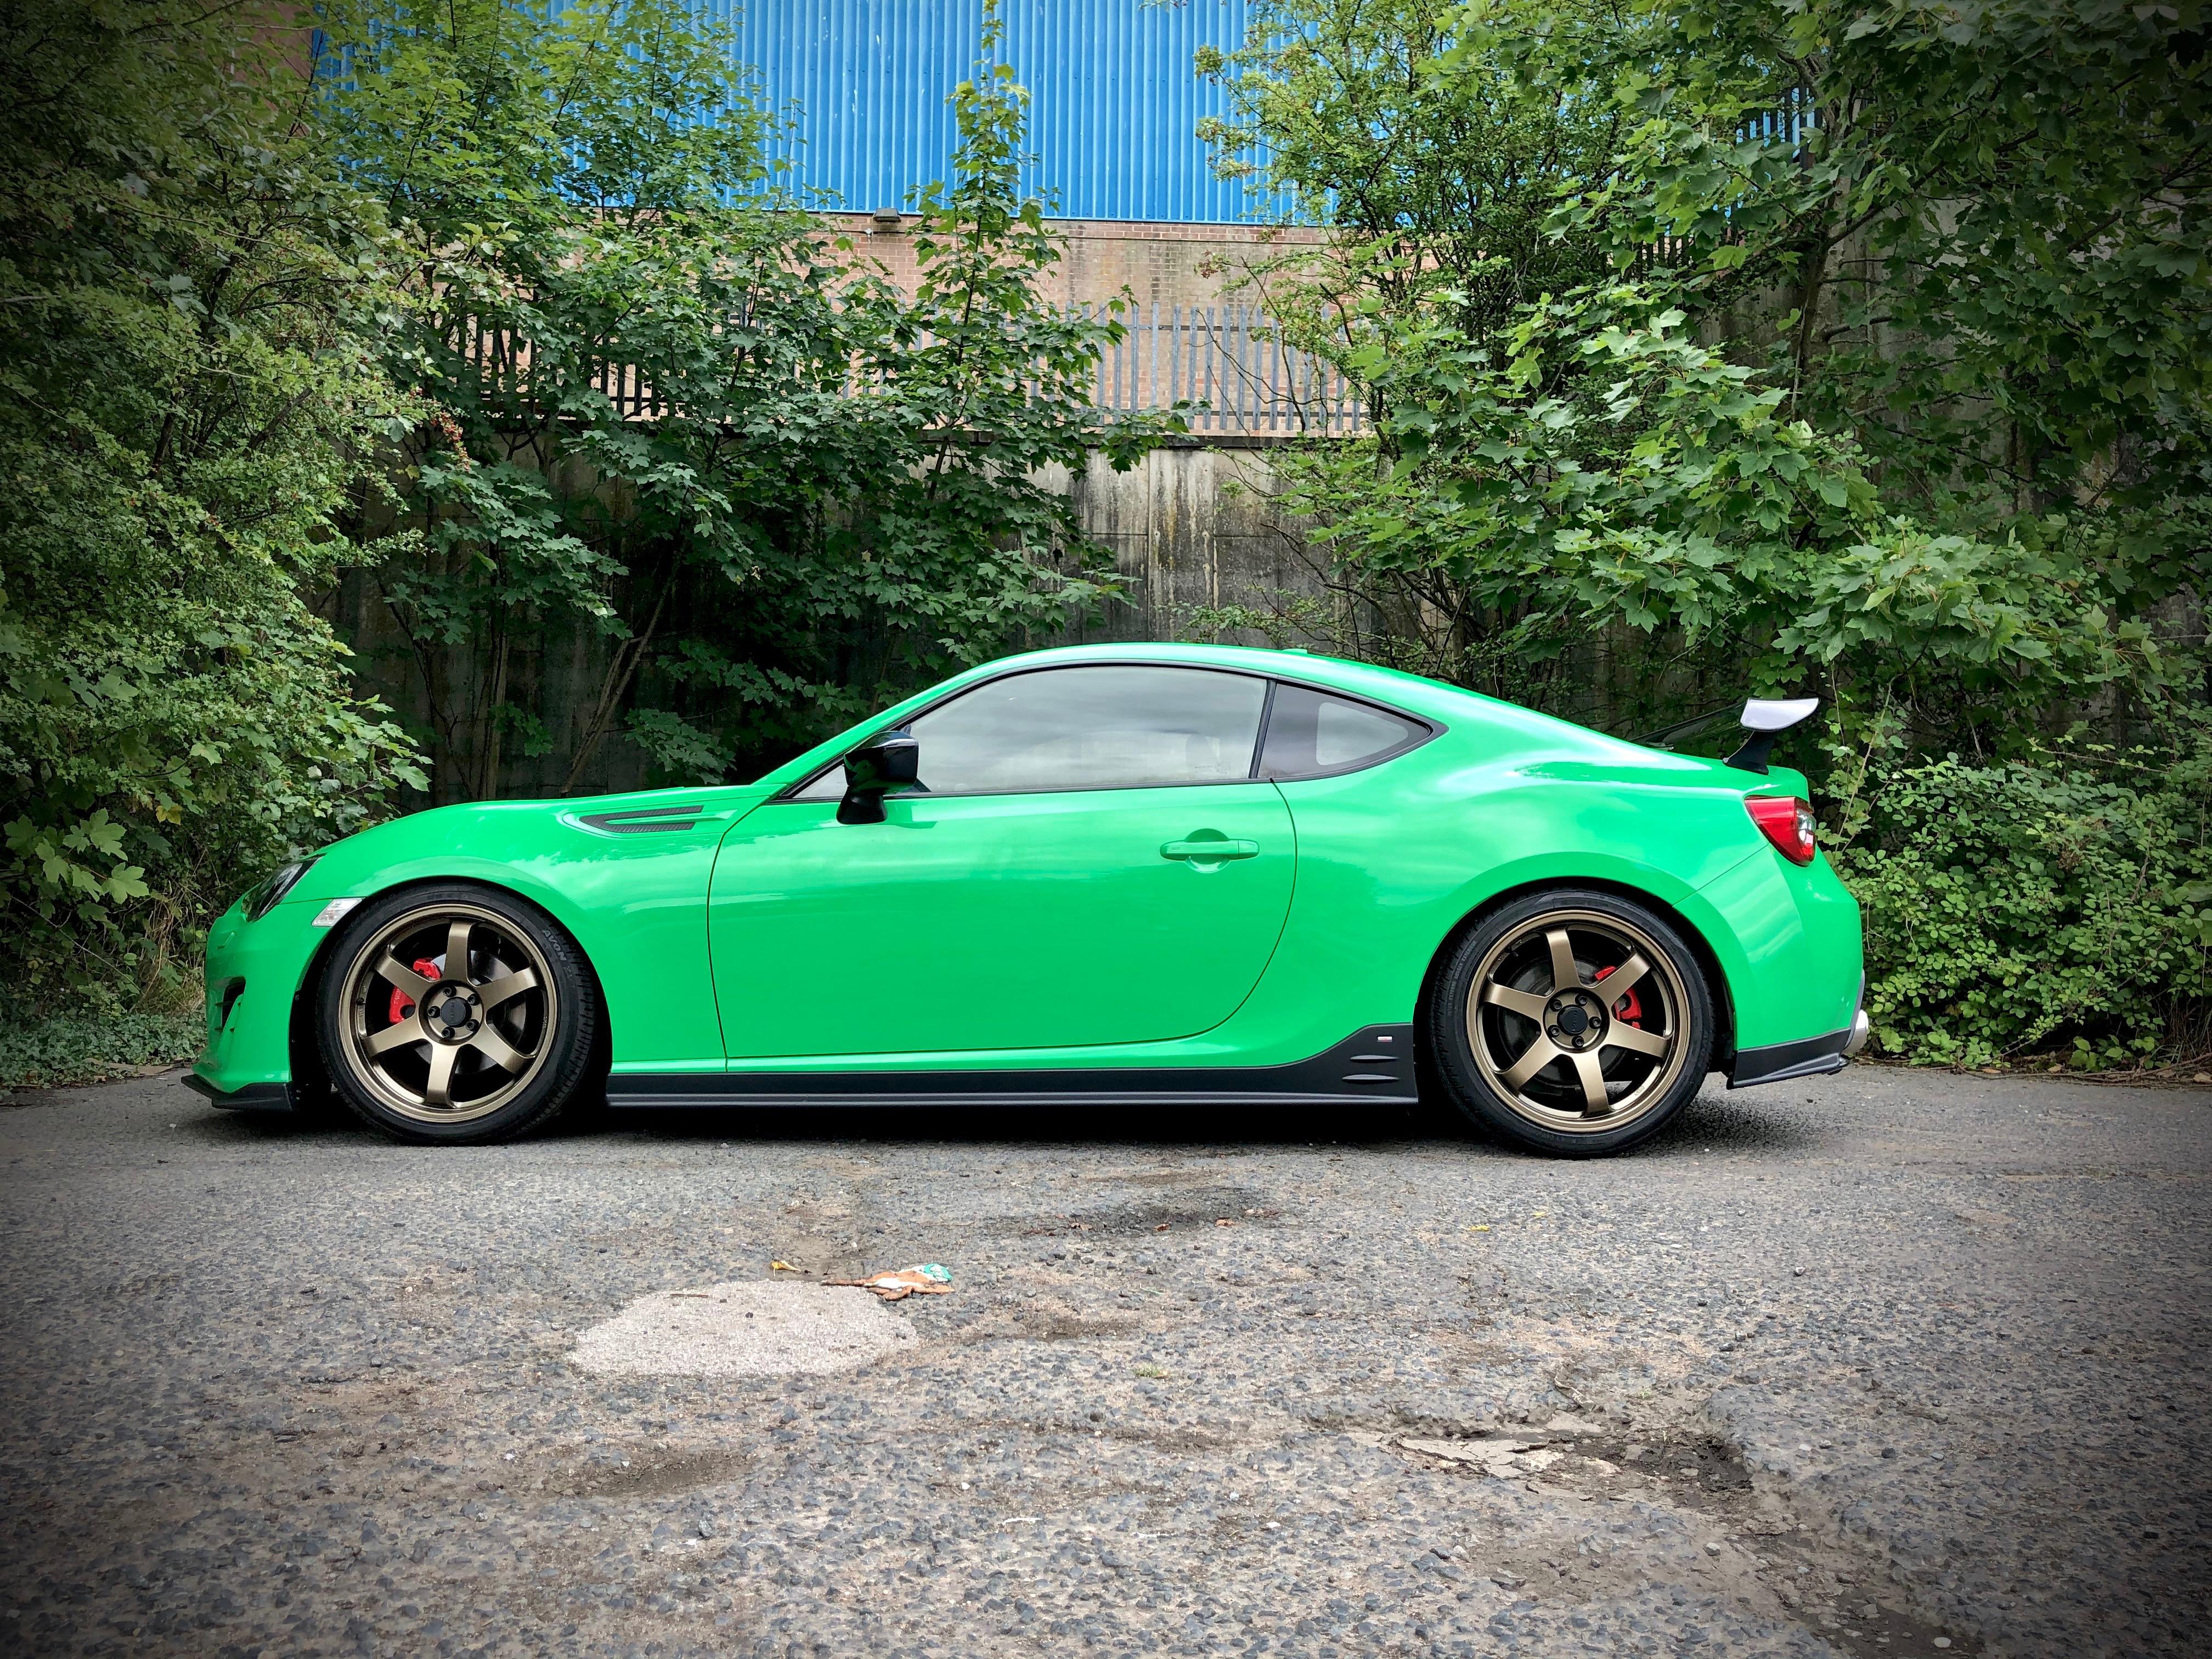
So the wheels are on, I decided to go for a light minty green colour as something different that I think works well with the white pearl. I added contrast with red centres and a chrome lip and centre. It needs to go a little lower but I ran out of time to adjust it further, will pick that up another day:
Wheels in progress by James Baker, on Flickr
BBS RS2 by James Baker, on Flickr
And the coilovers:
Coilovers on by James Baker, on Flickr
And the beatrush master cylinder brace:
Beatrush Master Cylinder brace fitted by James Baker, on Flickr
Finally the wheels on the car:
New Wheels by James Baker, on Flickr
New Wheels by James Baker, on Flickr
I also attend my first show in the GT86, Japfest at Castle Coombe, it was great to put some names to faces:
Japfest 2015 by James Baker, on Flickr
-
Tweedbean reacted to smudge in Tips on removing front drop links
Yeah just remove the suspension with the drop links attached and leave the ARB in place. It won't go anywhere and you are fine to drive, just don't go mad although the Teins will make it all feel stiffer anyway
-
Tweedbean got a reaction from Keethos in tweedbean's GT86
I agree, but they will be worth it.
Chrome Bulbs
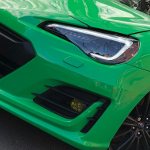
So I had 5 mins literally spare so decided to swap my indicator bulbs to chrome ones. Front and rears are T20:
http://www.ebay.co.uk/itm/130747930993?_trksid=p2057872.m2749.l2649&ssPageName=STRK%3AMEBIDX%3AIT
Before:
Stock bulb by James Baker, on Flickr
After:
Chrome bulbs after by James Baker, on Flickr
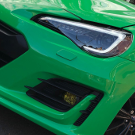
Before:
Stock bulb by James Baker, on Flickr
After:
Chrome bulbs after by James Baker, on Flickr
I didnt have chance to do the side markers yet but these are t10's:
http://www.ebay.co.uk/itm/301590027406?_trksid=p2057872.m2749.l2649&ssPageName=STRK%3AMEBIDX%3AIT
Wheels
The wheels are all ready to go for tyres now, then fitting. On one I had 4 bolts with round threads, a hammer and torx bit later and they were out and replaced with new bolts Friday is booked off from work so I can get these and coilovers on, very excited.
Debadge
I finished the debadge on the rear to clear it up a little. I will get that toyota badge off when I have other bits going in for paints as there are holes behind it. Much tidier:
Debadge completed by James Baker, on Flickr
-
Tweedbean reacted to Lee in Lee's HKS v2 Supercharged 86
So the kit has been on now for 1 week with the delicious tuning map.
Happy, really happy with the kit in base form, the car feels very powerful and screams its way through the revs, although I can feel the power dropping from 6800rpm or so, this is confirmed with datalogs showing that the intake cam timing is reduced at high revs from delicious, this is an 'advanced base map' designed for many forms of forced induction so they have built in a bit of protection at high revs I guess. You can also see it on 'engine load'
Boost pressure on the 39mm restrictor peaks at 0.55bar (8psi) at 6000rpm and then drops down to 0.38bar (5.5 psi) by about 7000rpm and holds around that to the limiter.
3000rpm = 0.17 bar / 2.5psi
4000rpm = 0.31 bar / 4.5psi
5000rpm = 0.45 bar / 6.5psi
6000rpm = 0.55 bar / 8.0psi
7000rpm = 0.38 bar / 5.5psi
Cam timing plays a big part in boost pressures when supercharged, so different tuners may get slightly different boost pressures with the same kit. You can see that the restrictor really starts choking flow from 6000rpm. PI injection is only at 35% duty cycle at 6500rpm so this lets me know that there is plenty left in the fuel system to open up the restrictor a touch and go from there.
The tune isn't without its issues though, the only gripe I have is during the warm up. Unless you absolutely nanny it when cold, due to the way the map is set up with regards to how much they ask of the cam timing, unless the oil temperature is up to temp, the car will go rich in certain conditions which causes false knock, this in turn is dropping the Advance Multiplier down which reduces ignition timing when you do put your foot down when the engine gets up to temp. There are no fault codes come up or anything like that, but unless the car is babied during warm up I will need to reset the ecu or wait until the car learns that there is no knock and it fixes itself. This is an annoying issue with Delicious are aware about and are currently working on a fix.
I'd still prefer to have the car mapped and supported in the UK, which is why I will make the trip down to Abbey eventually. The flash and go was and is convenient and I have had no gripes with Delicious, infact I've only had very good customer service.
-
-
Tweedbean reacted to smudge in Smudge's supercharged V8 build
Well needed clean after the Pure Rally last weekend, she was disgusting!
And after 7 hours of de-stickering, cleaning, polishing and waxing, she's gorgeous once again! Albeit a bit naked without the stickers
-
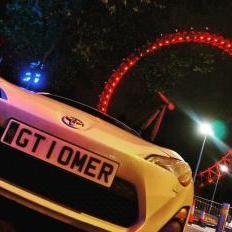 Tweedbean got a reaction from Omer86 in Instagram?
Do you guys have an Instagram account? I had a look but I couldn't find anything. It would help raise aware of the forum and drive traffic? For any members on here posting pictures via instagram, they could then hashtag you into any pictures from events, their cars or work they are doing to them.
-
Tweedbean reacted to GT86Jay in Instagram?
It's essentially just a profile for sharing photos. It's good because you can chose who and what you want to come up on your feed! I only follow car related people on mine, and car related people only follow me!
So it's not knowing any photos you post car related are going to be enjoyed and not just piss people off with filling up their timeline of crap they're not interested in. Like wise my feed is only full of cars and stuff i'm interested in.
I find Facebook and Twitter is full of too much crap and junk between useful and interesting posts!
Its a good place to get a little community of people and a following for a specific topic. I always tend to get the same few people comment / like my photos from around the world.
-
Tweedbean reacted to Subota Boy in New shiny stuff !!!!!
You can see that Julia is happy with the noise levels (outside anyway!) And then a remap - not shiny, but beautiful in a different way!! Very happy chap (me) left Fensport, that's for sure!! Happy to share the experience with anyone interested!! -
Tweedbean reacted to rob275 in Instagram?
It's basically twitter for pictures, so basically it's pointless, but everyone loves it?
-
-
-
Tweedbean got a reaction from Keethos in tweedbean's GT86
So lots of bits have been ordered over the last couple of weeks to try and get the car ready for Japfest on 16th May, bit thanks to Rich@Orranje Performance for his help on this.
Coilovers
I was very close to ordering a set of BC coilovers, however due to the recent issues they have been having with the GT86 rears, I wasnt a fan of the way they decided to remove bits and get customers to rectify themselves rather than fixing the problem. Therefore I decided that the Tein's seem to be highly rated for Japanese cars so why not give them a go. After reviewing the options, the Tein Street Flex Z seemed to fit my requirements and they also have the ability for me to fit EDFC (Electronic Damping Force Controller) at a later date, making it possible for me to control the damping force at the touch of a button while in the driver's seat. Amber Performance were really competitive on price so they got my business.
Overnight parts from Japan by tweedbean, on Flickr
Tein Flex Z Coilovers for the GT86 by tweedbean, on Flickr
Tein Flex Z Coilovers for the GT86 by tweedbean, on Flickr
Tein Flex Z Coilovers for the GT86 by tweedbean, on Flickr
Tyres
For the tyres I decided to go for 225 40 18 Vredestein Ultrac Sessanta's as I was really impressed with them on the Clubby so I though I would give them a go on this.
225 40 18 VREDESTEIN ULTRAC SESSANTA's by tweedbean, on Flickr
Wheels
So the BBS RSii's are back from the powder coaters and I am really pleased with them. I have gone for two different colours, one of which is chrome powder coat for the lip, barrels and centre caps. I did contemplate getting the lips and centre caps polished however that would require more upkeep than I can be bothered with for a set of wheels, especially as this is a DD, so I think the powder coat looks the part and will be harder wearing. The second I will let you know in due course once the wheels are on the car. I have always tried to go a little different and hopefully I have achieved this.
The only photo I have to share with you right now is a really poor one of the centre caps
Centre Caps by tweedbean, on Flickr
Performance
This hasn't been forgotten as I am not build a show and shine car here I have been weighing up my options with the Avo turbo and the numerous supercharger conversions, pulling together a list of parts and prices. I am still not 100% sure, so my plan is to get to a number of shows/track days this year and hopefully get a ride in a car with each of these kits to see the difference in the real world rather than on paper. I dont want to start buying performances parts such as unequal length manifolds, exhausts etc now if they wont work with the FI route I decide upon, so until then the suspension, interior and exterior will get me attention.
It seems like I will have a busy weekend as I need to rebuild the wheels then get the over to the tyre place to get the tyres fitted, then get back to Rich's to fit the coilovers and wheels to the car. I also have a couple of small jobs like switching over number plates and finishing the debadging on the rear.
Bulbs
I also have some chrome indicator bulbs on the way, 4xT20 and 2xT10, so I can loose the fried egg look.
-
Tweedbean reacted to GT86Jay in Instagram?
Personally I have - @GT86Jay
I don't think the club has one though.
-
-
Tweedbean reacted to GT86Jay in GT86Jay's HKS Version 2 Supercharger Install / Mod Thread
I’ve started this thread which will probably be like a small Mods blog as i’ve never really set one up for my car.
I’ve always thought about boosting my GT86 but never really decided on a route or if it would be viable. But after driving Maz’s car a fair bit on the road and once on track it made sense to go the Centrifugal Supercharged route.
For the style of driving and type of roads I drive it made sense. The HKS supercharger to me just feels like a bigger block NA car. You don’t get that sudden rush of power in one peak. It just keeps climbing and climbing. Over 6.5krpm is just awesome!
Being hands on and quite technical and capable I decided i’d fit the kit myself as a sense of achievement and a little personal project with the help from Maz at HKS Europe. We picked this weekend as it gives me the extra bank holiday day and fitted in best with Adrian mapping it at Fensport this week.
We started the install at about 5:30 Friday evening with the plan to get all the prep work and old bits off the car so that Saturday morning we could start fitting the go-faster bits.
The Manual is relatively easy to understand although at times the Japanese to English translation is a little poor. But luckily with having Maz to help he could read the Japanese ones and it all made sense!
First thing is to get the Bumper off and expose the front of the car. Along with unbolting the crash bar as we fit some brackets to this for the Intercooler.
We also remove the bonnet catch and top bonnet support for later.
Also free’d up the Oil cooler and made sure this was out the way temporarily whilst fitting the new parts.
What’s impressive with the HKS kit is the amount of dedication and precision gone into planning the kits. We spent a fair couple of hours adding clips to existing hoses and supporting stock parts for the preparation of them receiving positive boost. Parts like the canister can under the manifold. Usually the hoses are just pushed on loosely. But now they’ll see positive pressure HKS actually supply clips to add to these hoses to make sure they don’t pop off! It would be a real PITA if one popped after install! It just gives a little bit of piece of mind that you’re adding reliability.
Interestingly Version 1 of the supercharger didn’t have these extras! But they added them for Version 2.
Once this was all done and the fiddly bits out of the way we had the car ready to receive boost! We have to add a bracket to the underside of the Crash beam which will be used to support the intercooler so we got this added and in place. This is fiddly as you’ve got to get a nut on the bolt which is half way along from an opening at the end! We got there in the end!
Also had to cut a little channel in the upper bonnet support for the charge pipe to come back into the engine bay.
Next up was fitting the actual compressor to the car. The bracket is very substantial and quality is outstanding. Everything just fitting into place lined up and went perfectly. The bracket basically fits into the existing holes in the Alternator and fits in really well. After a few bolts, belt on and tensioner released we had the unit in place!
We then went ahead and mounted the intercooler in place. It looks as though it sits on the bottom shelf. But it actually hanging from 2 bracket. Its a very good fit and the HKS kit hasn’t failed to impress regarding quality and fitment!
This charger uses a traction fluid system with it’s own oil cooler to lubricate the charger components. A tank is mounted just beside the airbox, using two existing holes in the support just below the bonnet release. After cutting the supplied hoses to length, adding an inline filter and clipping it all on. The traction fluid system was in place along with the cooler, bottle, lines and filter. It's important to get the traction fluid cool and ensure everything is working correctly. As this can seriously damage the compressor if the fluid isn't there as expected!
Now to put the stock airbox back into it’s location ready for the intake suction pipe.
Any airbox or induction that uses the stock intake pipe location should fit with this kit.
Here we put a restrictor plate between the supercharger and the intake air box. The restrictor is a simple plate which sandwiches between the intake pipe and the charger with two gaskets. It restricts the power from the capable 400hp to about 300hp to use on a stock engine block! The restrictor is great as it keeps all the available torque and power low and and just clips the peak power towards the top end. You can of course run it without a restrictor if you dare on a stock engine!
The great thing with this unit is if you do decide to go for a forged engine you can simply remove the restrictor, tweak the map and you’ll be able to produce around 400hp comfortably with the same kit.
We then plumbed in the intercooler which is a fiddly job as there isn’t much room, especially if you have the oil cooler installed too! This kit was obviously designed, tested and fitted in Japan where they do not have HID headlights also meaning they haven't got the headlight washers! Which actually get in the way a fair bit on the UK cars as the headlight washers sit just where the pipe wants to naturally sit. But after some persuasion and careful positioning it does all go back in and the headlight washer still works.
Moving on by connecting up the throttle body intake pipe from the intercooler. This bit was straight forward. The pipe sits in the neat hole that was cut earlier on in the process. All connecting up and on the throttle body. We have a completed plumbed in Supercharger.
We have to take a vacuum line from the vacuum brake line so that the Recirc valve can work. For this we simply take a T-Piece in the original vacuum line and connect it to the valve.
At this point the install is done! We topped up the traction fluid tank. Fired it up and ensured there are no air leaks and fluid is circulating ok.
Starts first time and the sound is just fantastic. A real rushing of air and breathing sound!
One with the final bits like the bumper, and side indicators etc. And it’s finished!
All together it took us around 12 hours with two of us working on it. What helped was Maz’s ability to know stuff as he’d already done it on his car. Little tips and tricks to make things easier and the knowledge of knowing what we we’re un-doing was correct! The manual makes it easy as the install is split up into smaller chunks of work. So you’re only ever aiming for one goal at a time. Such as ‘Fit the intercooler’ - ‘For this you will need’. Rather than tackling the entire project with all the bits in one go.
Off to Fensport today for the map! Once i've driven it with some boost i'll report back
-
Tweedbean reacted to chillismoke in Totally de-badged with something unique
I had a little package arrive all the way from Ohio in the states this week...
It came from a gentleman called Pete Thompson https://www.facebook.com/pete.thompson.5815
I had previously seen his skills in creating bespoke aluminium badges when Faith had turned her 86 in to a tiger:
Very impressed I contacted Pete....
4 weeks later and they arrived. Pete was very informative over this period and regularly sent me progress pictures.
To start with I sent Pete my charitys logo and asked him to design a badge for my car:
He sent back a few designs:
Before we settled on one that would work best:
I changed them today and really happy with the new look 86